Table of Contents
Introduction
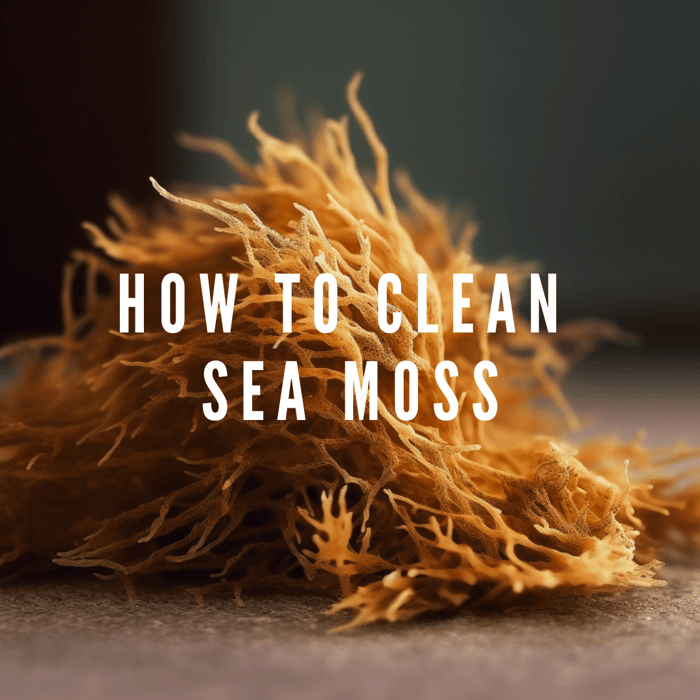
Sea moss, commonly recognized as Irish moss, hails from the chilly shores of Ireland and the warm waters of the Caribbean. Known for its spectrum of colors and abundant nutritional value, it has become a favorite addition to a variety of dishes from smoothies to soups, and is even used in skincare products. Ensuring its safety for consumption and preserving its rich nutrient content necessitates proper cleaning procedures.
What You Need to Properly Clean Sea Moss
To clean sea moss effectively, you will need the following materials:
- Sea moss
- Large bowl
- Strainer
- Alkaline water (preferably spring water)
Each item plays a crucial role in the cleaning process. The bowl and strainer are used to hold and drain the sea moss, while the alkaline water is used to rinse and soak the sea moss, helping to remove any impurities and maintain its nutrient content. You can find high-quality sea moss products at Millie's Moss.

Detailed Step-by-step Guide on Cleaning Sea Moss
Purchasing Sea Moss
When buying sea moss, consider factors such as its color, smell, and texture. It should have a natural, ocean-like smell, a gold or purple color, and a firm texture. Avoid sea moss that has a strong, unpleasant odor or appears bleached, as these are signs of poor quality.
Pre-rinsing
The first step in cleaning sea moss is pre-rinsing. This helps to remove any surface dirt or debris. Simply place the sea moss in a strainer and rinse it under running water.
Soaking
After pre-rinsing, the next step is soaking. Place the sea moss in a large bowl and cover it with alkaline water. It's recommended to soak the sea moss for at least 12 to 24 hours. This allows the sea moss to expand and also helps to remove any remaining impurities.
Cleaning
Once the sea moss has been soaked, it's time to clean it. Start by removing the sea moss from the water and placing it in a strainer. Then, using your hands, gently rub the sea moss to remove any remaining dirt or debris. Be sure to clean each piece thoroughly to ensure all impurities are removed.
Rinsing
After cleaning, the sea moss should be rinsed again. This helps to remove any remaining dirt or debris that may have been loosened during the cleaning process. It's recommended to rinse the sea moss at least two to three times to ensure it's thoroughly clean.
Draining
The final step in the cleaning process is draining. After rinsing, place the sea moss in a strainer and allow it to drain for a few minutes. This helps to remove any excess water and prepares the sea moss for use or storage. For more information on how to use sea moss, visit Millie's Moss.

Common Mistakes in Cleaning Sea Moss and How to Avoid Them
Cleaning sea moss may seem straightforward, but there are a few common mistakes that can affect the quality and nutritional value of the sea moss. Here are some of the most common mistakes and how to avoid them:
- Not soaking long enough: Soaking is an essential step in the cleaning process as it helps to remove impurities and allows the sea moss to expand. Not soaking the sea moss long enough can result in a gritty texture and reduced nutrient content.
- Using chemically treated water: The type of water used to clean sea moss can also affect its quality. Using chemically treated water, such as tap water, can introduce unwanted chemicals into the sea moss. It's recommended to use alkaline water, preferably spring water, to clean sea moss.
- Not rinsing thoroughly: Rinsing is another crucial step in the cleaning process. Not rinsing the sea moss thoroughly can leave behind dirt or debris, which can affect the taste and safety of the sea moss.

The Importance of Properly Cleaning Sea Moss
Properly cleaning sea moss is not just about maintaining its taste and texture, it's also about ensuring its safety and nutritional value. Here's why:
- Health risks: Improperly cleaned sea moss can contain dirt, sand, salt, and other impurities, which can pose health risks when consumed.
- Nutritional value: Proper cleaning helps to maintain the nutritional value of sea moss. It ensures that the essential minerals and vitamins are preserved, allowing you to reap the full health benefits of this superfood.
- Maximizing benefits: Proper cleaning also ensures that you get the maximum benefits from your sea moss. It allows the sea moss to fully expand, making it easier to extract the nutrients when used in recipes or skincare products.
Conclusion
Cleaning sea moss may seem like a simple task, but it's a crucial step in ensuring its safety and nutritional value. By following the steps outlined in this guide and avoiding common mistakes, you can ensure that your sea moss is clean, safe, and packed with nutrients. Remember, the quality of your sea moss starts with proper cleaning, so don't skip this important step!
Frequently Asked Questions
- How do you clean Seamoss before soaking?
- Before soaking, sea moss should be pre-rinsed under running water to remove any surface dirt or debris.
- Do you rinse sea moss after soaking?
- Yes, sea moss should be rinsed after soaking to remove any remaining dirt or debris that may have been loosened during the soaking process.
- How many times should I wash sea moss?
- It's recommended to rinse sea moss at least two to three times during the cleaning process to ensure it's thoroughly clean.
- Can I soak sea moss in hot water?
- No, it's not recommended to soak sea moss in hot water as it can damage the sea moss and reduce its nutritional value. It's best to use room temperature alkaline water for soaking.
 is here! Shop now, pay later in 4 easy installments


